Custom Rosette Making

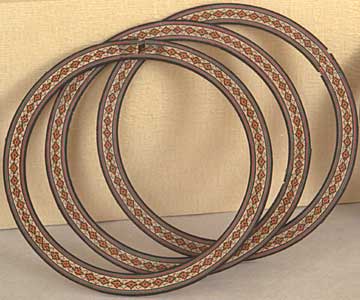
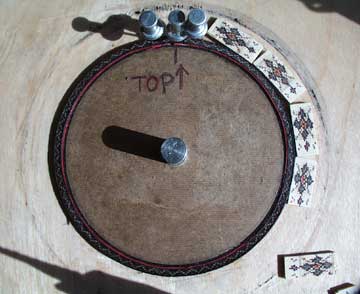
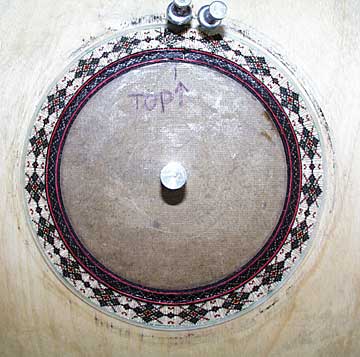
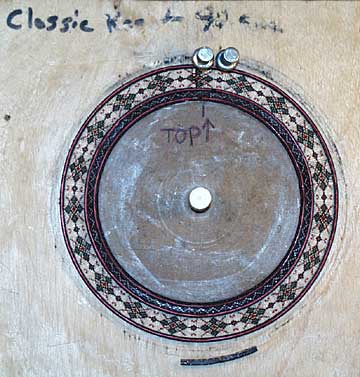
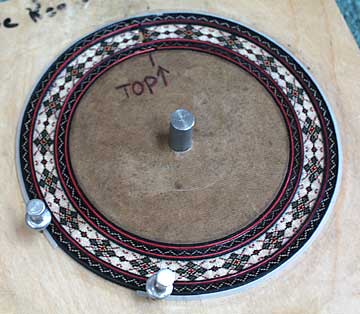
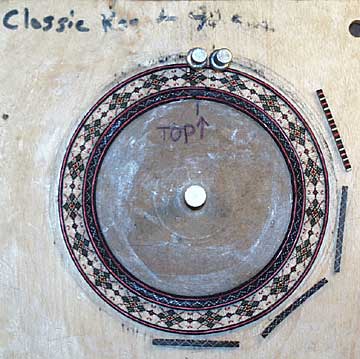
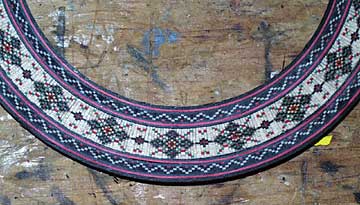
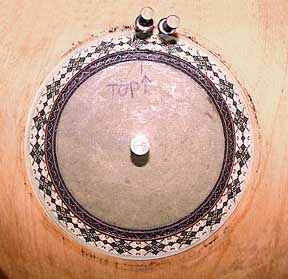
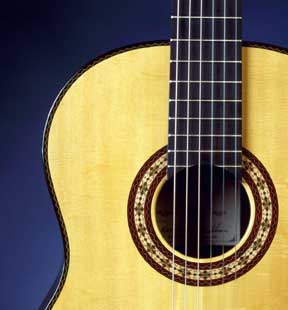
For instrument makers tradition has it that two of their trademarks be the peghead shape and the rosette design. (In the violin world, their scroll work and the shape of the F hole.) I enjoy rosette making immensely; it personalizes my work and satisfies my artistic sensibilities, plus it makes a quiet time in the hussle and bussle of the shop. A rosette design starts with an idea laid down on a graph setup in Excel. This allows me to see the tile with correct rectangle size and can be colored to achieve a sense of the finished design. Both tile color and line thickness can be planned in this manner and it's easy to play with colors in the design. The pattern shown in the photos is for my most common pattern and is a variant on the theme.

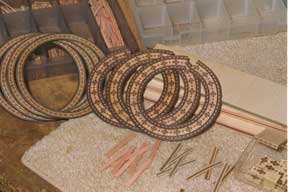
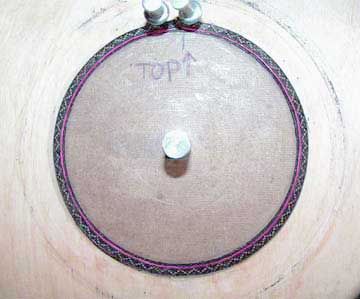
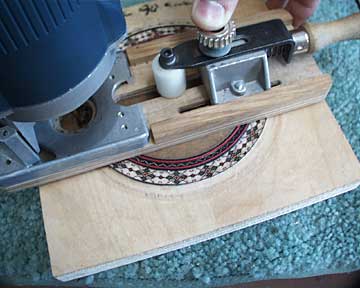
The first step in the process is to laminate variously colored veneers (thin sheets of wood that have been dyed or left in their natural color) precisly thicknessed into a multi-layered sheet that can be sliced to produce a single row of the pattern. As the various rows are assembled, the pattern emerges on the end of the laminate. In order to produce the most vivid colors, the sheets of stock are cut to expose the side grain in the finished pattern. The strips shown in the lower part of the photo produce the pattern shown in the rosettes above.

I start with an appropriately sized circle glued to a workboard that's been waxed to prevent sticking. There is a central pin that will be used to true the rosette during construction. A wide black and narrow red veneer, just barely visible in the photo, have been added around the circle.

After bending, the first mosaic layer is glued onto the veneered circle. More veneers are added as we head to the main focal point tile.

Next, a mosaic layer is bent to shape on a hot iron to be worked around the circle.

Now the central tile is ready to be bent and the extra whites on the end fit to the angles necessary to make the curve. Today we cut and add more tapered sections to make the circle more easily.

Now the central tile has been fit in place and we are ready to add extra black veneer in preparation to retrue the rosette.

Here the new veneers have been added to replicate the interior's black-red-black layer and the first mosaic is replicated again.

The mosaic is all glued and a strip of teflon holds the final black veneer which is trued yet again with the circle cutter before the final red and outside thick black is added.

The router jig is now placed on the central pin and the black layer is trued to a perfect circle again. New veneers can now be added to build out the pattern.

More bending and fitting of the outside mosaic.

The glued-up rosette has now been flattened and thicknessed to 1.3 mm thick and is ready to install into the 2.5 mm top. A precise process throughout is necessary to place it into the circle cut into the top with a circle cutter.


Here is another varient on the above pattern.


WHO WE ARE | INSTRUMENTS WE BUILD | REPAIRS & RESTORATIONS | INSTRUMENTS FOR SALE | RENTALS
TOUR OUR STUDIO | WHAT'S IN PROCESS | ENDORSERS | CONTACT US | HOME